Ø Login IP-guard V3 Console, go to the menu Categories > Removable-Storage

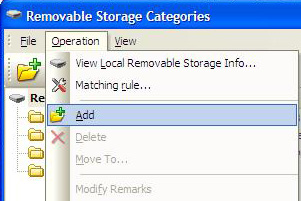
Ø Go to Operation > Add or click on the Add icon. Name the folder with appropriate name
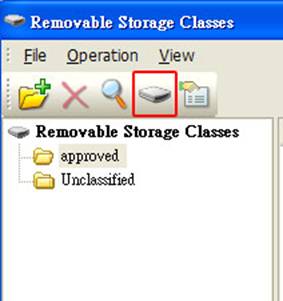
Ø Go to Operation > Local removable storage … or click on the removable device icon
Ø Plug-in the USB device. Select the device in the list. Click Set classes button
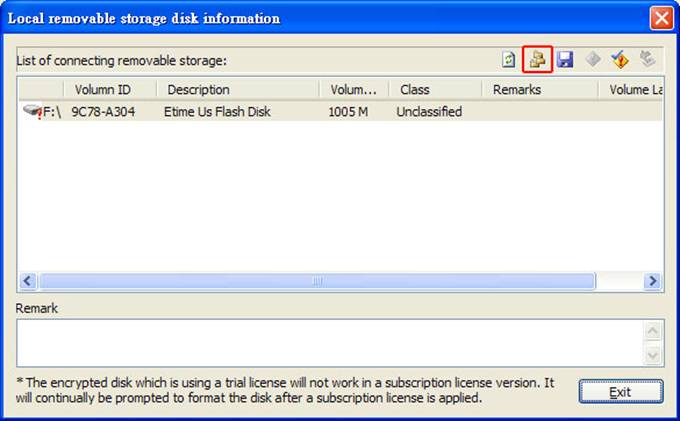
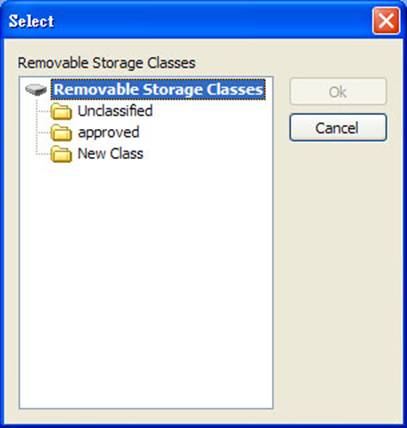
Ø Select the appropriate classes for the USB device. Click OK to continue
Ø Click Save to server button to save the new setting

Ø IP-guard V3 Console will pop-up a window when saving complete
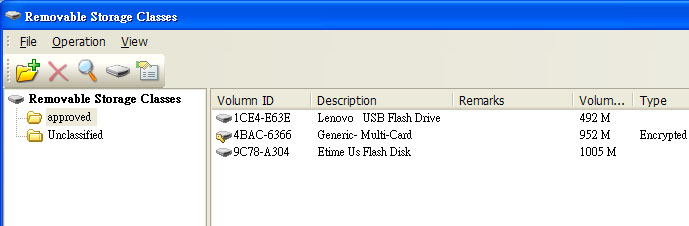
Ø After saving complete administrator can drag and drop any Unclassified USB devices to the custom class