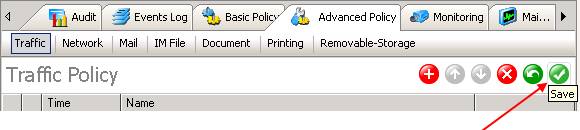
〉 Login IP-guard V3 Console, select the target computer (group) or user (group) that you want to apply the policy. Click on Advanced Policy > Traffic

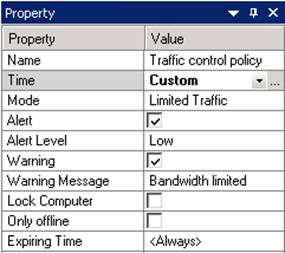
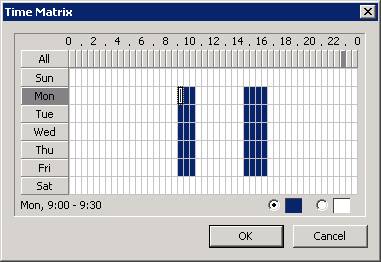
〉Enter the policy name from the Property window. Select Custom for Time value (Specify the time you want to control the network traffic. Select “Limited Traffic” for Mode value. Check the Alert check box, select the appropriate Alert Level. Check the Warning check box; enter your custom message in Warning Message area (Optional).
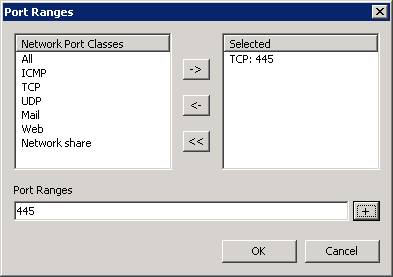
〉Click on
〉 Click tick to save and apply the policy setting